Blank walls are like empty notebooks—full of potential but intimidating to start. The good news? You don’t need a fancy degree or a fat wallet to create stunning wall art. With a little imagination and everyday materials, you can craft pieces that reflect your personality and turn heads. Whether you’re a glitter-loving maximalist or a minimalist who craves clean lines, these DIY tutorials will help you fill your space with art that’s uniquely yours.
1. Why DIY Wall Art?
Personalization Over Perfection
Store-bought art is great, but DIY pieces tell your story. That abstract painting? It’s a mood from your favorite summer trip. Those pressed flowers? A memory from your garden. DIY art adds soul to your space.
Budget-Friendly Brilliance
A 2023 survey found that 68% of homeowners feel stressed about decor costs. DIY projects slash expenses—most of these tutorials cost under $20!
Eco-Conscious Creativity
Repurpose old fabrics, thrifted frames, or fallen leaves. Sustainable art = style with a clear conscience.
2. Abstract Canvas Art: No Skills Required
Perfect for: Modern spaces, renters, stress relief.
Materials:
- Canvas (thrifted or dollar-store)
- Acrylic paints
- Household items (forks, sponges, credit cards)
Steps:
- Background Wash: Mix paint with water; swipe diagonally.
- Texture Play: Dab a sponge, scrape paint with a card, or “stamp” with a fork.
- Layer Emotions: Add contrasting colors while the base is wet.
Pro Tip: Frame it with painted thrift-store trim for a polished look.
3. Pressed Botanical Wall Art
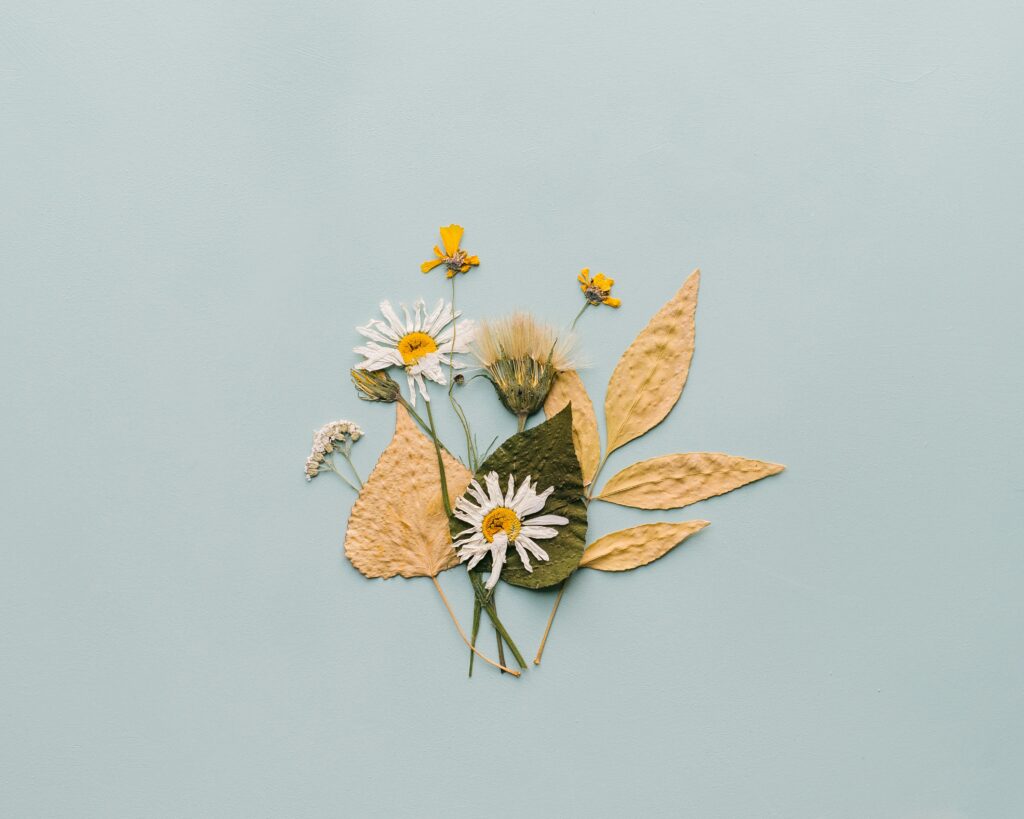
Perfect for: Nature lovers, farmhouse or boho styles.
Materials:
- Fresh flowers/leaves
- Heavy books (or a flower press)
- Frames (check Our Budget-Friendly Framed Poster)
Steps:
- Press & Dry: Layer blooms between parchment in a book; wait 1–2 weeks.
- Arrange: Glue pressed botanicals onto cardstock in geometric patterns or freeform designs.
- Frame: Use floating frames for a 3D effect.
Pro Tip: Add dried citrus slices or fern fronds for texture.
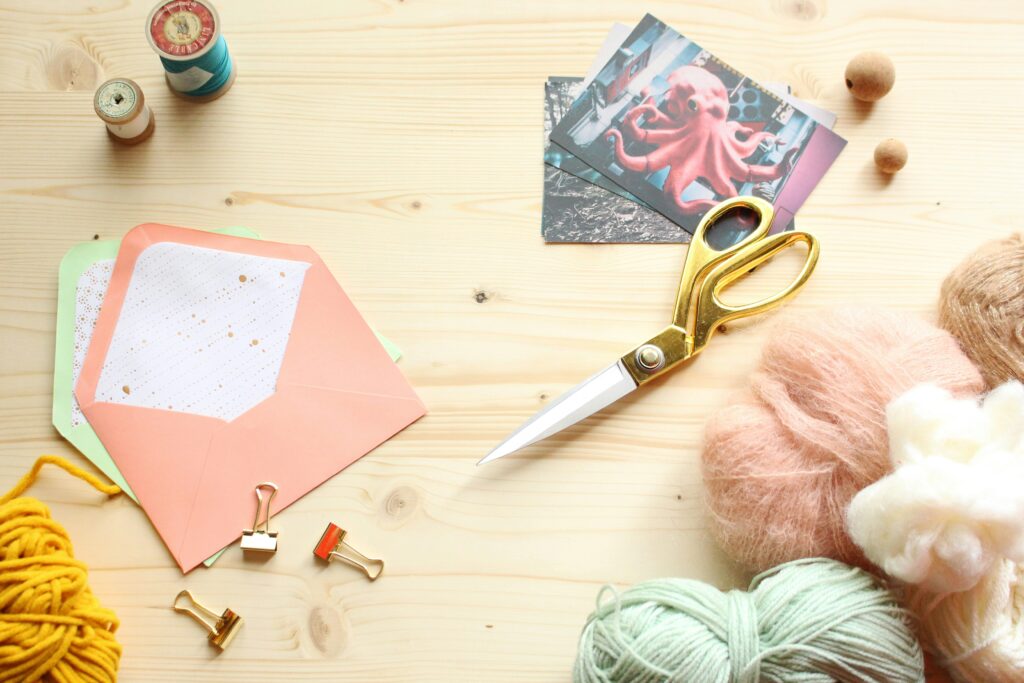
4. Fabric & Textile Wall Hangings
Perfect for: Renters, eclectic spaces, softens loud rooms.
Materials:
- Fabric scraps (old scarves, quilts, or thrifted curtains)
- Wooden dowel or driftwood
- Yarn or rope
Steps:
- Cut Strips: Vary widths for visual interest.
- Tie & Drape: Secure fabric strips to a dowel; knot yarn at ends.
- Embellish: Add beads, pom-poms, or embroidery.
Style It: Pair with macramé plant hangers for boho vibes.
5. Geometric Tape Art: Sharp Lines, Zero Fuss
Perfect for: Minimalists, accent walls, home offices.
Materials:
- Painter’s tape
- Acrylic paint
- Ruler, level
Steps:
- Tape Design: Create triangles, hexagons, or overlapping lines.
- Paint: Fill shapes with contrasting colors.
- Peel & Reveal: Remove tape once dry.
Pro Tip: Use metallic paint for a luxe touch.
6. Memory Collage Boards
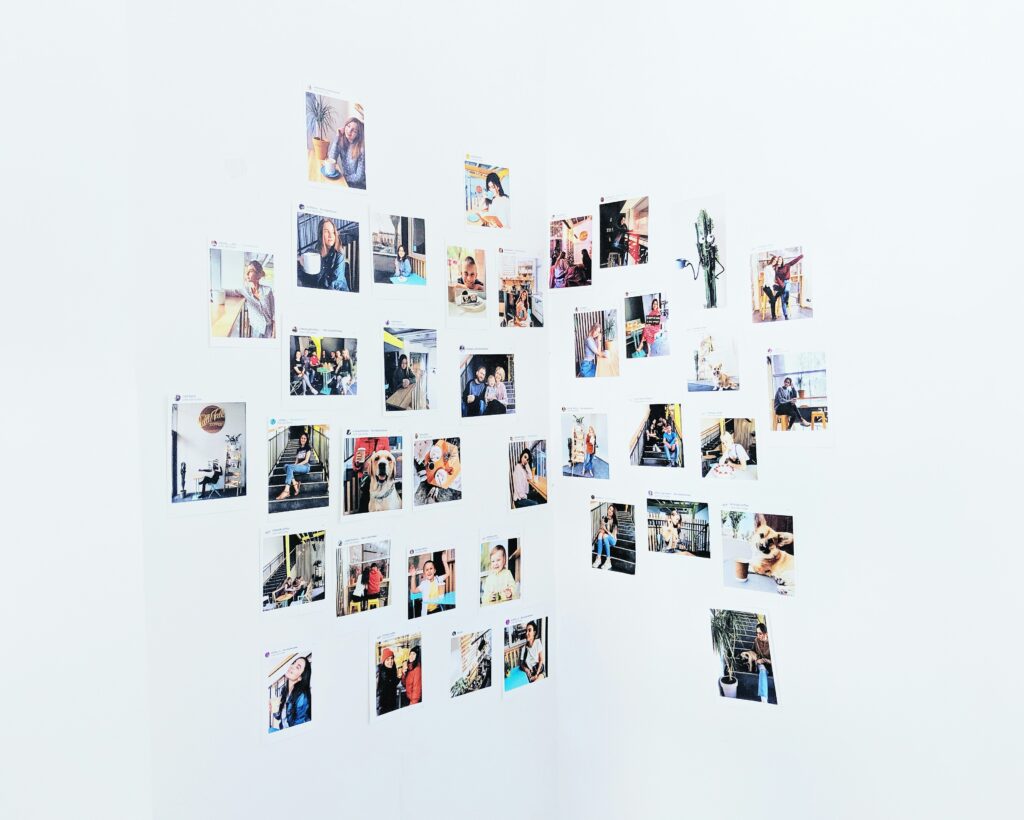
Perfect for: Nostalgic souls, hallways, kids’ rooms.
Materials:
- Corkboard or foam board
- Photos, ticket stubs, pressed flowers
- Washi tape, pushpins
Steps:
- Arrange Mementos: Overlap items organically.
- Secure: Use tape or pins (no glue = easy swaps!).
- Frame Edges: Outline with LED string lights.
Pro Tip: Spray-paint the board matte black for contrast.
7. Kids’ Art Gallery Wall
Perfect for: Families, playrooms, adding whimsy.
Materials:
- Clipboards, twine, or IKEA frames
- Kid-made masterpieces
- Colorful washi tape
Steps:
- Rotate Art: Clip new drawings monthly.
- Frame Favorites: Use dollar-store frames for “special exhibits.”
- Add Labels: Note the artist’s age and date.
Pro Tip: Mix in DIY abstract canvases you make together!
8. Macramé Wall Art: Knot Your Average Decor
Perfect for: Boho bedrooms, texture lovers.
Materials:
- Cotton cord ($5 at craft stores)
- Wooden dowel
- Scissors
Steps:
- Learn Basic Knots: Square knots, half-hitches (YouTube tutorials help!).
- Create Patterns: Start with a simple diamond design.
- Add Beads: Thread wooden beads for depth.
Style It: Hang above your bed.
9. Upcycled Material Masterpieces
Perfect for: Eco-warriors, industrial lofts.
Materials:
- Scrap wood, old magazines, bottle caps
- Glue, clear resin (optional)
Ideas:
- Wood Slice Mandala: Paint concentric circles on sanded slices.
- Magazine Roll Art: Roll pages into tight tubes; glue into geometric shapes.
- Bottle Cap Map: Spell out your city or a heart shape.
Pro Tip: Seal paper art with mod podge to prevent yellowing.
10. Displaying Your DIY Art Like a Pro
Mix & Match Frames
Pair thrifted frames in different sizes but similar colors.
Create Zone
Group art by theme: family memories in the hall, abstracts in the living room.
Lighting Matters
Use clip lights or fairy strings to highlight your work.
11. Sustainability Hack: Swap, Don’t Stop
Host a DIY art swap with friends. Trade pieces seasonally to keep your walls fresh without spending a dime.
Final Thoughts: Your Walls, Your Masterpiece
DIY wall art isn’t about perfection—it’s about joy. That wobbly line in your painting? It’s proof you tried. The mismatched fabric collage? A snapshot of your favorite colors. Start small, embrace “happy accidents,” and remember: every piece adds character.
Ready to get messy? Dive into our DIY Projects Hub for more tutorials, or tag us with your creations using #LobsShopDIY. We’ll feature our favorites! 🎨✨
Your Turn!
Which tutorial will you try first? Share in the comments—we’d love to cheer you on! 🌟