Printable art is a fantastic way to personalize your space without breaking the bank. Whether you’re decorating a home office, sprucing up a nursery, or adding flair to your living room, understanding the basics of sizing, resolution, and printing ensures your artwork looks polished and professional. In this guide, we’ll answer your most pressing questions and help you avoid common pitfalls.
Understanding Print Sizes and Aspect Ratios
Key Points:
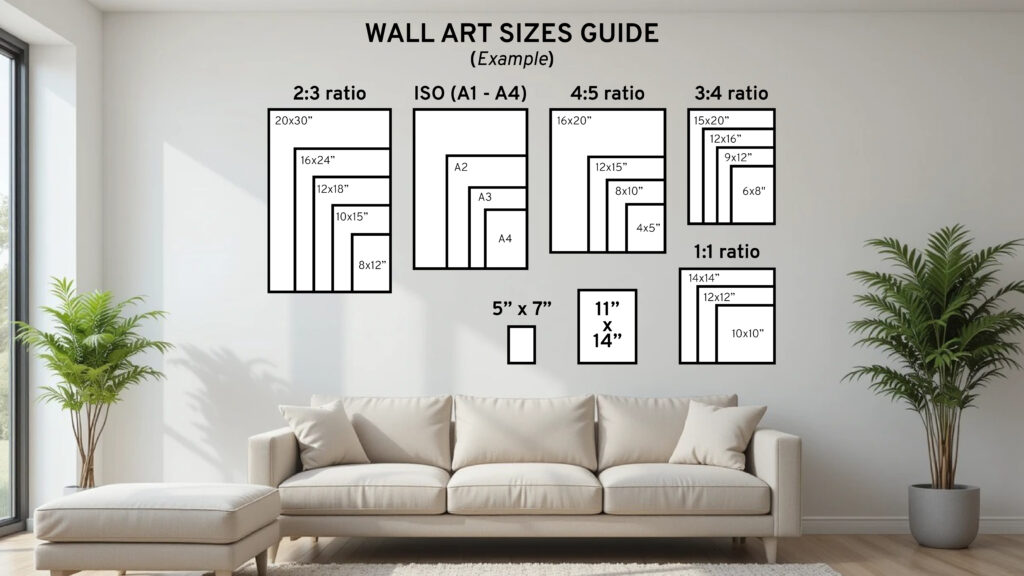
- Standard Print Sizes: Common dimensions like 8×10”, 11×14”, and 18×24” work for most frames. Check your frame size before purchasing or printing art.
- Aspect Ratios: This ratio (e.g., 4:5 or 3:2) determines how an image scales. Mismatched ratios lead to cropped or stretched prints.
- Custom Sizes: Need a non-standard size? Learn how to resize artwork without distortion using tools like Photoshop or free alternatives like Canva.
Explore our guide on How to Choose the Perfect Wall Art for Any Room for design inspiration.
Resolution Demystified: DPI, PPI, and Image Quality
Key Points:
- DPI vs. PPI: Dots per inch (DPI) refers to printer density, while pixels per inch (PPI) relates to digital image quality. For sharp prints, aim for 300 PPI.
- Checking Resolution: Multiply your desired print size (in inches) by 300 to calculate the minimum pixel dimensions (e.g., 8×10” = 2400×3000 pixels).
- Upscaling Low-Res Images: Use AI tools like Topaz Gigapixel to enhance blurry images, but prioritize high-resolution files from the start.
Pro Tip: Always download the largest file size available when purchasing printable art.
Choosing the Right File Format
Key Points:
- JPEG vs. PNG: JPEGs are great for photos, while PNGs support transparency (ideal for logos or layered designs).
- PDFs for Vector Art: Vector files (PDF, SVG) retain quality at any size—perfect for text-heavy or geometric designs.
- CMYK vs. RGB: For professional printing, convert RGB files to CMYK to avoid color discrepancies.
Printer Types and Paper Choices
Key Points:
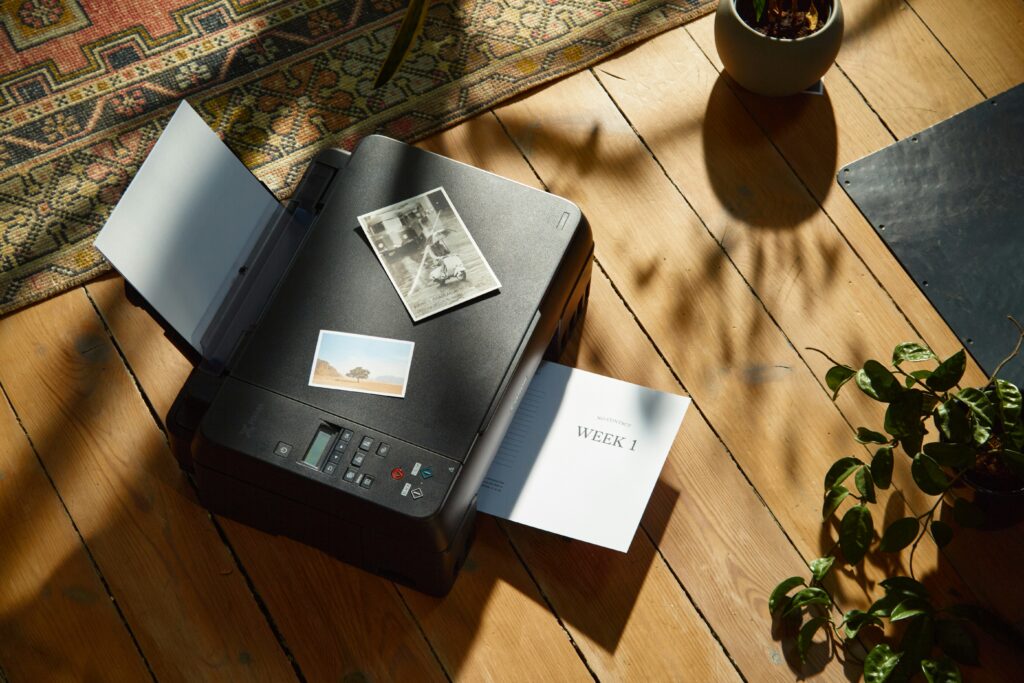
- Home Printers: Inkjet printers work well for casual projects. Use high-quality matte or glossy paper for best results.
- Professional Printing: For large-scale art, use a print service. They offer archival-grade paper, canvas, or metal prints.
- Paper Textures: Matte paper reduces glare, while metallic finishes add vibrancy to colorful designs.
Did You Know? Our partners at LOBS Shop offer premium printing services with fast shipping.
Common Printing Problems (and How to Fix Them)
Key Points:
- Blurry Prints: Caused by low resolution. Always verify image dimensions before printing.
- Color Mismatches: Calibrate your monitor and use printer-specific color profiles.
- Border Issues: Enable “borderless printing” in settings or trim edges with a paper cutter.
Framing and Displaying Your Printable Art
Key Points:
- Frame Styles: Match frames to your decor—minimalist for modern spaces, ornate for traditional vibes.
- Matting Tips: Use acid-free mats to prevent yellowing and add a professional touch.
- Hanging Tricks: Arrange frames in a gallery wall using painter’s tape to plan layouts.
Get creative with our DIY Home Decor Ideas.
Printable Art FAQs
- Can I print art purchased online multiple times?
Yes, unless the license restricts it. Always check the seller’s terms. - Why does my print look darker than my screen?
Monitors emit light; paper absorbs it. Adjust brightness/contrast before printing. - How do I store unused prints?
Keep them flat in a protective sleeve, away from humidity and sunlight.
Final Checklist Before Hitting “Print”

- Verify image resolution (300 PPI minimum).
- Match aspect ratio to frame size.
- Choose the right paper type.
- Do a test print on regular paper.
Conclusion
Printable art lets you refresh your space affordably—but a little know-how goes a long way. By mastering sizing, resolution, and printing basics, you’ll achieve gallery-worthy results every time. Ready to start? Browse our curated collection of printables at Lobsshop and transform your walls today!