A blank wall is a canvas waiting for your story. But styling wall art can feel overwhelming—should you go big or bold? Mix frames or keep it minimal? The truth is, there’s no one-size-fits-all formula. Whether you’re a renter working with limited holes or a homeowner ready to transform your living room, this guide will help you curate walls that feel intentional, inviting, and unmistakably you.
1. Start with the Right Art: It’s All About Connection
Choose Pieces That Speak to You
Your wall art should reflect your personality, not just trends. Ask:
- Does this piece spark joy? (If it feels forced, keep hunting.)
- What mood do I want here? (Calm abstracts for bedrooms, energizing colors for home offices.)
Size Matters
- Large Walls: Opt for oversized art or a gallery grid. A single 36×48″ canvas can anchor a room.
- Small Spaces: Cluster smaller pieces (8×10″ to 16×20″) for impact without clutter.
Pro Tip: Use painter’s tape to outline sizes on your wall before hanging.
2. The Golden Rules of Arrangement (And When to Break Them)

Eye-Level Harmony
Hang art so the center is 57–60 inches from the floor—ideal for most eye levels. Exceptions:
- Above Furniture: Leave 6–8 inches between the sofa/console and the frame.
- Vertical Spaces: Align with door frames or stair rails for flow.
Spacing Secrets
- Between Frames: 2–3 inches for cohesion.
- Asymmetrical Layouts: Balance a large piece with smaller companions on the opposite side.
DIY Hack: Cut paper templates of your art to experiment risk-free.
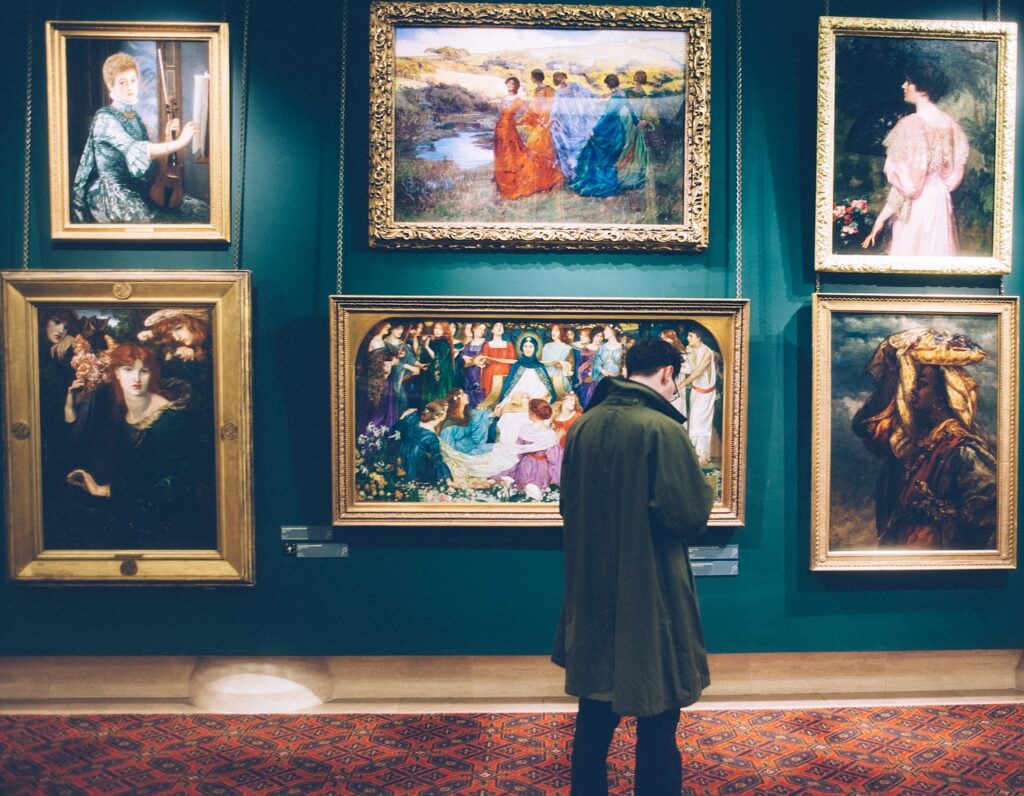
3. Gallery Walls: Curated, Not Cluttered
Choose a Theme
- Color Story: Unify mismatched frames with a shared palette (e.g., black-and-white photos with gold accents).
- Style Mix: Pair abstract art with vintage maps for eclectic charm. (Botanical vs. Abstract Guide)
Layout Styles
- Grid: Perfect for identical frames and symmetry lovers.
- Salon-Style: Mix sizes, orientations, and mediums. Start with the largest piece as the anchor.
- Vertical/Horizontal Lines: Ideal for narrow hallways or flanking windows.
Pro Tip: Add depth with floating shelves, clocks, or woven baskets.
4. Frame It Right: Mixing Styles Like a Pro
Frame Harmony
- Matchy-Matchy: Sleek black or white frames for a modern, unified look.
- Eclectic Mix: Combine wood, metal, and acrylic frames—keep mats consistent (white or cream).
Matting Matters
- Small Art: Use wider mats to create grandeur.
- Bold Pieces: Skip mats for a raw, contemporary edge.
Budget Twist: Spray-paint thrifted frames in a cohesive hue for instant polish.
5. Lighting: Make Your Art Shine (Literally)
Natural Light
- Avoid direct sunlight to prevent fading. Hang art perpendicular to windows or use UV-protective glass.
Artificial Lighting
- Picture Lights: Install adjustable LED strips above statement pieces.
- Track Lighting: Highlight rotating collections or gallery walls.
Pro Tip: Angle lights at 30° to minimize glare.
6. Room-by-Room Styling Guide
Living Room
- Above the Sofa: Choose art 2/3 the sofa’s width.
- Fireplace Mantel: Lean layered frames or a large mirror.
Bedroom
- Over the Bed: Opt for calming landscapes or abstract art in soothing tones.
- DIY Headboard: Use a tapestry or oversized canvas as a focal point.
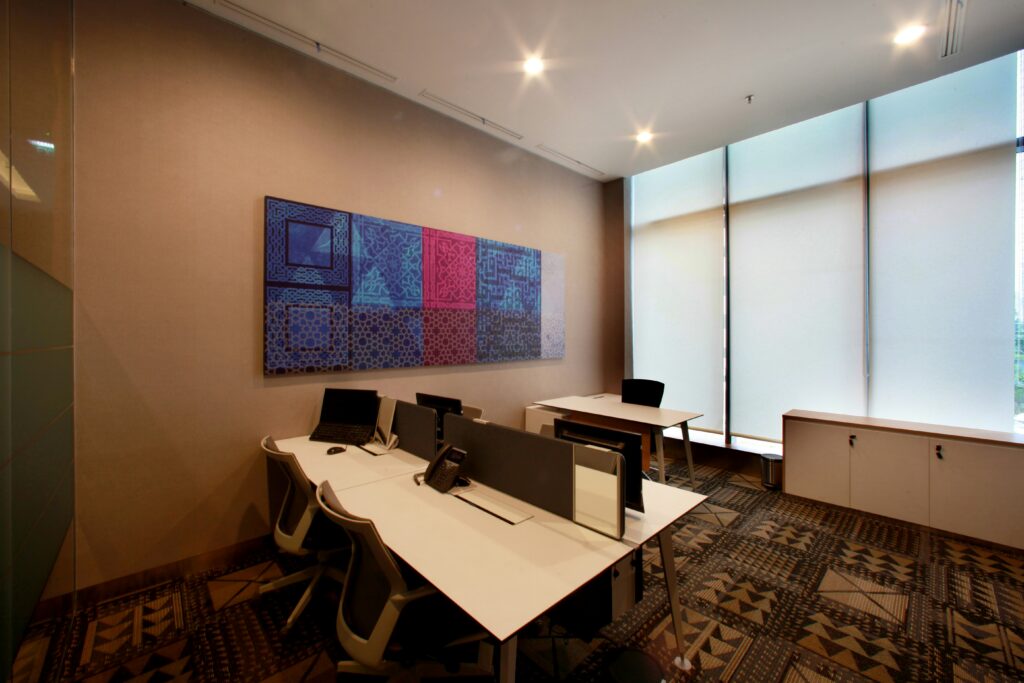
Home Office
- Inspiration Boost: Frame motivational quotes or vibrant abstracts.
- Functional Art: Hang a corkboard or chalkboard for interactive creativity.
7. Digital Tools: Visualize Before You Drill
Apps to Try
- Canva: Mock up gallery walls with their design templates.
- Room Planner: Upload photos to test layouts virtually.
Augmented Reality
- IKEA Place: See how framed art looks on your walls via smartphone.
Pro Tip: Snap photos of your space to “test” art colors against your walls.
8. Avoid These Common Mistakes
- Floating Art: Too high or low—keep centers at eye level.
- Ignoring Scale: A tiny frame on a large wall feels lost.
- Overcrowding: Let each piece breathe.
Quick Fix: Lowering art by 2–3 inches can transform a space instantly.
9. Personalize It: DIY & Sentimental Touches
Memory Displays
- Mix Photos & Art: Use matching frames for cohesion.
- Kids’ Masterpieces: Rotate their creations in clipboards or acrylic frames.
DIY Projects
- Abstract Canvas: Try splatter paint or geometric tape designs.
- Nature Art: Frame pressed leaves, feathers, or dried florals.
10. Rotate & Refresh: Keep Your Walls Evolving
Seasonal Swaps
- Spring: Pastel abstracts or floral prints.
- Winter: Moody landscapes or metallic accents.
Theme Shifts
- Travel Inspiration: Frame vintage postcards or maps from recent trips.
- Holiday Vibes: Add temporary decals or wreaths around existing art.
Pro Tip: Store off-season art in labeled portfolios under the bed.
Final Thoughts: Your Walls, Your Story
Styling wall art isn’t about rigid rules—it’s about creating a space that feels authentically yours. Love minimalist lines but crave color? Hang a bold abstract in a sleek frame. Obsessed with vintage vibes? Mix thrifted landscapes with ornate gold mirrors. Experiment, adjust, and remember: your home should evolve as you do.
Ready to transform your walls? Dive into our Wall Art Styling Guide for more inspiration, or shop our collections to find pieces that speak to your soul.
Share Your Style!
Tag us @LobsShop and use #StyledByLobs to showcase your walls. We might feature your masterpiece! 🎨✨
P.S. Unsure where to start? Our Free Design Quiz helps you discover your decor style in 5 minutes!
Your Turn!
What’s your biggest wall-styling challenge? Share in the comments—we’re here to help! 🌟